Today we’re dragging LAMP into the 21st century in the worst possible way.
Steer clear from unnecessary complexity by running everything in a single container
Much of the world wide web reportedly runs on PHP.
This includes large online platforms, like Facebook, Flickr, and Wikipedia, but
also a countless number of WordPress-based corporate websites and personal blogs.
This does not mean that PHP is a popular programming language. In fact, it’s
probably . WordPress’s reputation isn’t exactly stellar among web
developers either.
EvErYtHiNg WaS bEtTeR iN tHe PaSt
Now, there are a lot of reasons to hate on PHP (and WordPress). Some of those are
perfectly justified. Most however are based on negative experiences that people
once had with some version of the language or ecosystem that hasn’t existed for
a very long time now.
The language, its interpreter, community, and ecosystem have all made huge leaps
forward, to the point where everything about it is basically just a slightly
different Java. Things are pretty okay nowadays.
But sometimes I do long for the “good old days”, when you could still get away with
absolutely awful spaghetti code without tests, debug code by (repeatedly) adding
var_dump()s to your PHP files on production, and deploy new code by just FTP’ing
a bunch of files to the right directory.
Today, we’re going to use modern development and hosting tools to relive those
good old days – or at least parts of it.
We’ll do this by packaging WordPress and some other stuff into a Docker container
and hosting it on a local Kubernetes cluster as if it is a virtual machine.
Packaging our app
The first thing we need is Docker, a tool that lets
you run your code in containers. A container contains your code and an operating
system, so it is kind of like a virtual machine, except that it is not a virtual
machine.
Containers can be provisioned using a .
A Dockerfile is sort of like a shell script, except that it is not a shell script.
One major difference between shell scripts and Dockerfiles, is that Dockerfiles
also specify which operating system you’ll use. In our case, we’ll go with the
latest LTS version of Ubuntu, for no
reason other than that it is a popular choice among those who maintain actual
virtual machines:
Almost everything after this line looks a lot like a shell script, albeit one
with a slightly more convoluted syntax. For example, this is how we install the
packages that we need in our container:
Note that we put everything into a single RUN instruction. This is something
that you see often in Dockerfiles, .
Since we’re not particularly interested in following best (or even acceptable)
practices in this guide we’ll just use individual instructions as much as possible,
if only because I think it looks prettier.
Anyway, in the previous snippet we used apt to install two web applications:
WordPress and phpMyAdmin. We still need to configure them so that they can be
accessed via Apache and know how to connect to the database:
As you can see, I took the liberty of hardcoding some credentials that are easy
to remember, so you’ll never have to worry about locking yourself out of the system!
Speaking of which, we’ll also pretend that we care about security by installing
and configuring ufw so that it allows traffic for ports between 1 and 443 (which
we do not actually use in this guide, but whatever):
There is one very important thing that we haven’t done yet: we still need to
start the Apache web server using CMD,
which is sort of like RUN, except that it’s the thing that is executed when
the container is actually running.
There are also two other very important things.
Remember that MySQL server that we had started earlier so that we could create
some database users? It’s no longer up at this point, so we’ll need to start it
again as well.
Moreover, Docker containers stop when their main process stops. In our case, we
want to start two perpetually running processes via service start. However, these
commands exit once they have started the service in the background and thus so
will our container.
Fortunately, we can easily keep our Docker container alive by keeping it comatose
until the end of time by adding sleep infinity to our CMD instruction:
The resulting Dockerfile can be found in the accompanying GitHub repository,
along with the various configuration files that were referenced in the snippets
above.
We can build a container by executing the following command in the directory
that contains the Dockerfile and configuration files for WordPress and
phpMyAdmin:
The -t chunfeilung/kubernutty part is used to name the container, which you
can also find on Docker Hub.
Run our app with Docker
Our container can be started by executing the following command:
This will take a few seconds. Not only because the container needs to start multiple
services, but also because we have in our Dockerfile.
It’s worth the wait though; the end result looks glorious in docker ps! The
formatted output below is reasonably close to what I’m seeing on my screen.
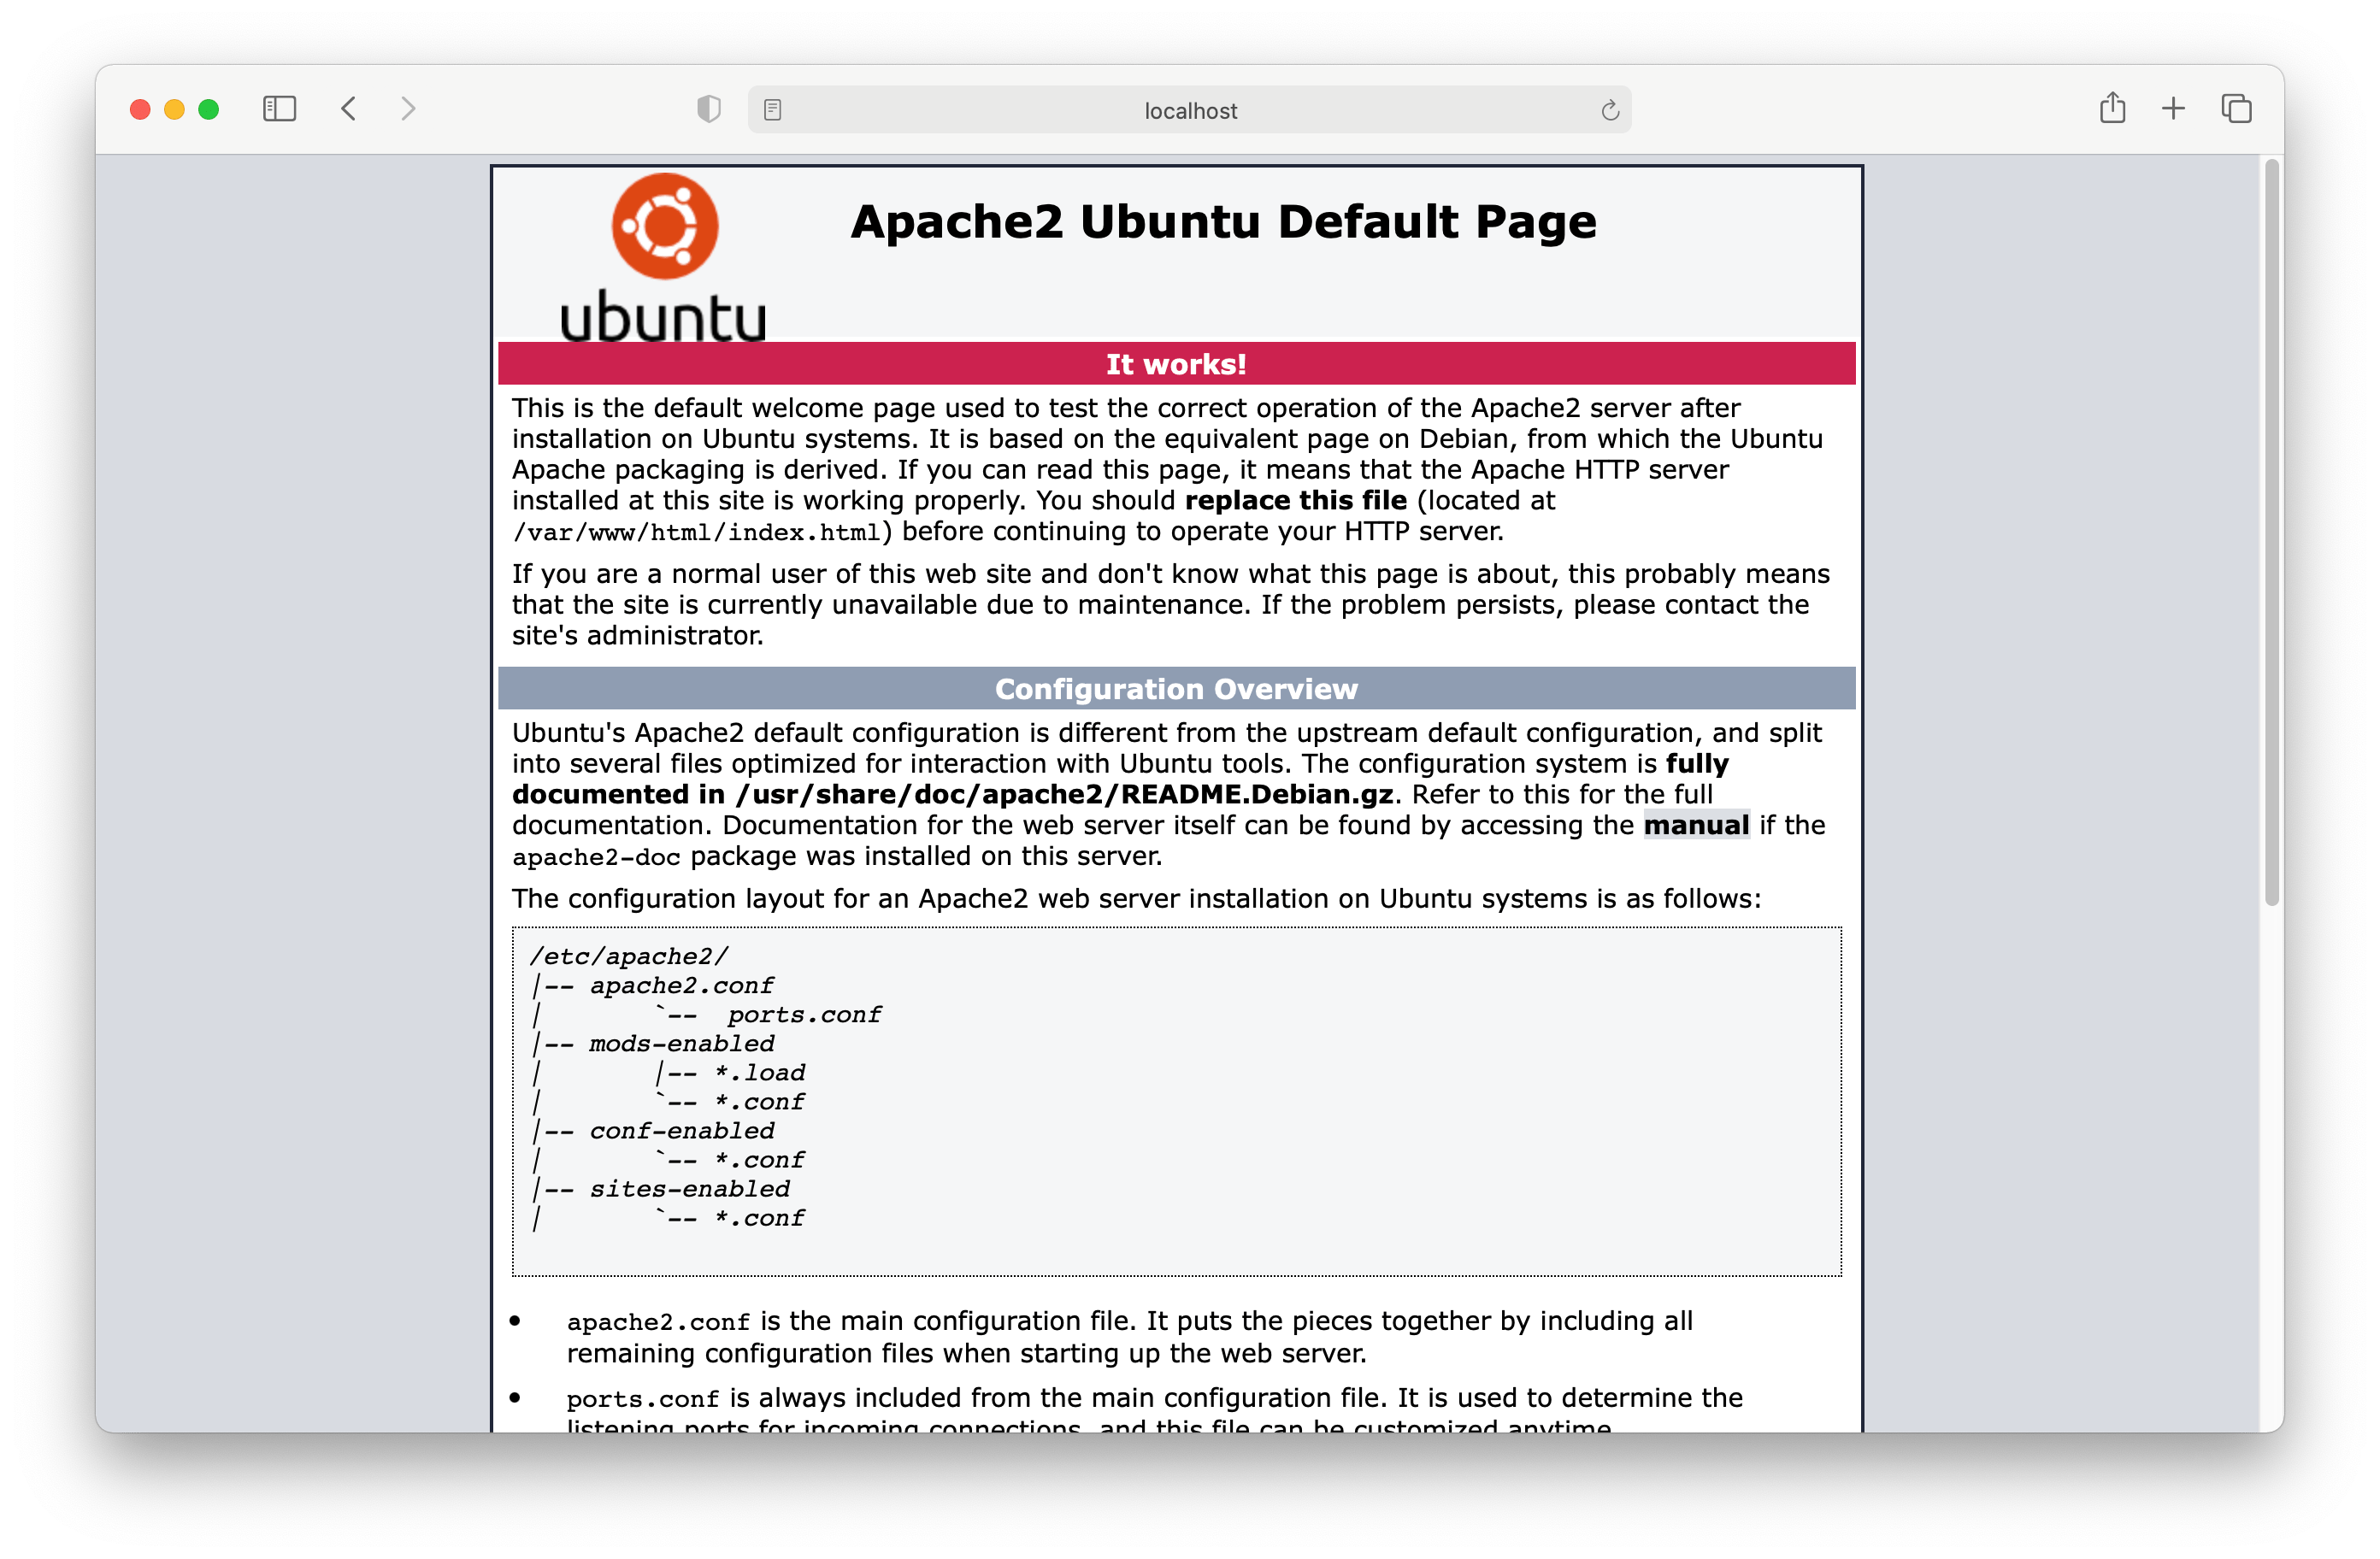
http://localhost tells you that everything is fine.
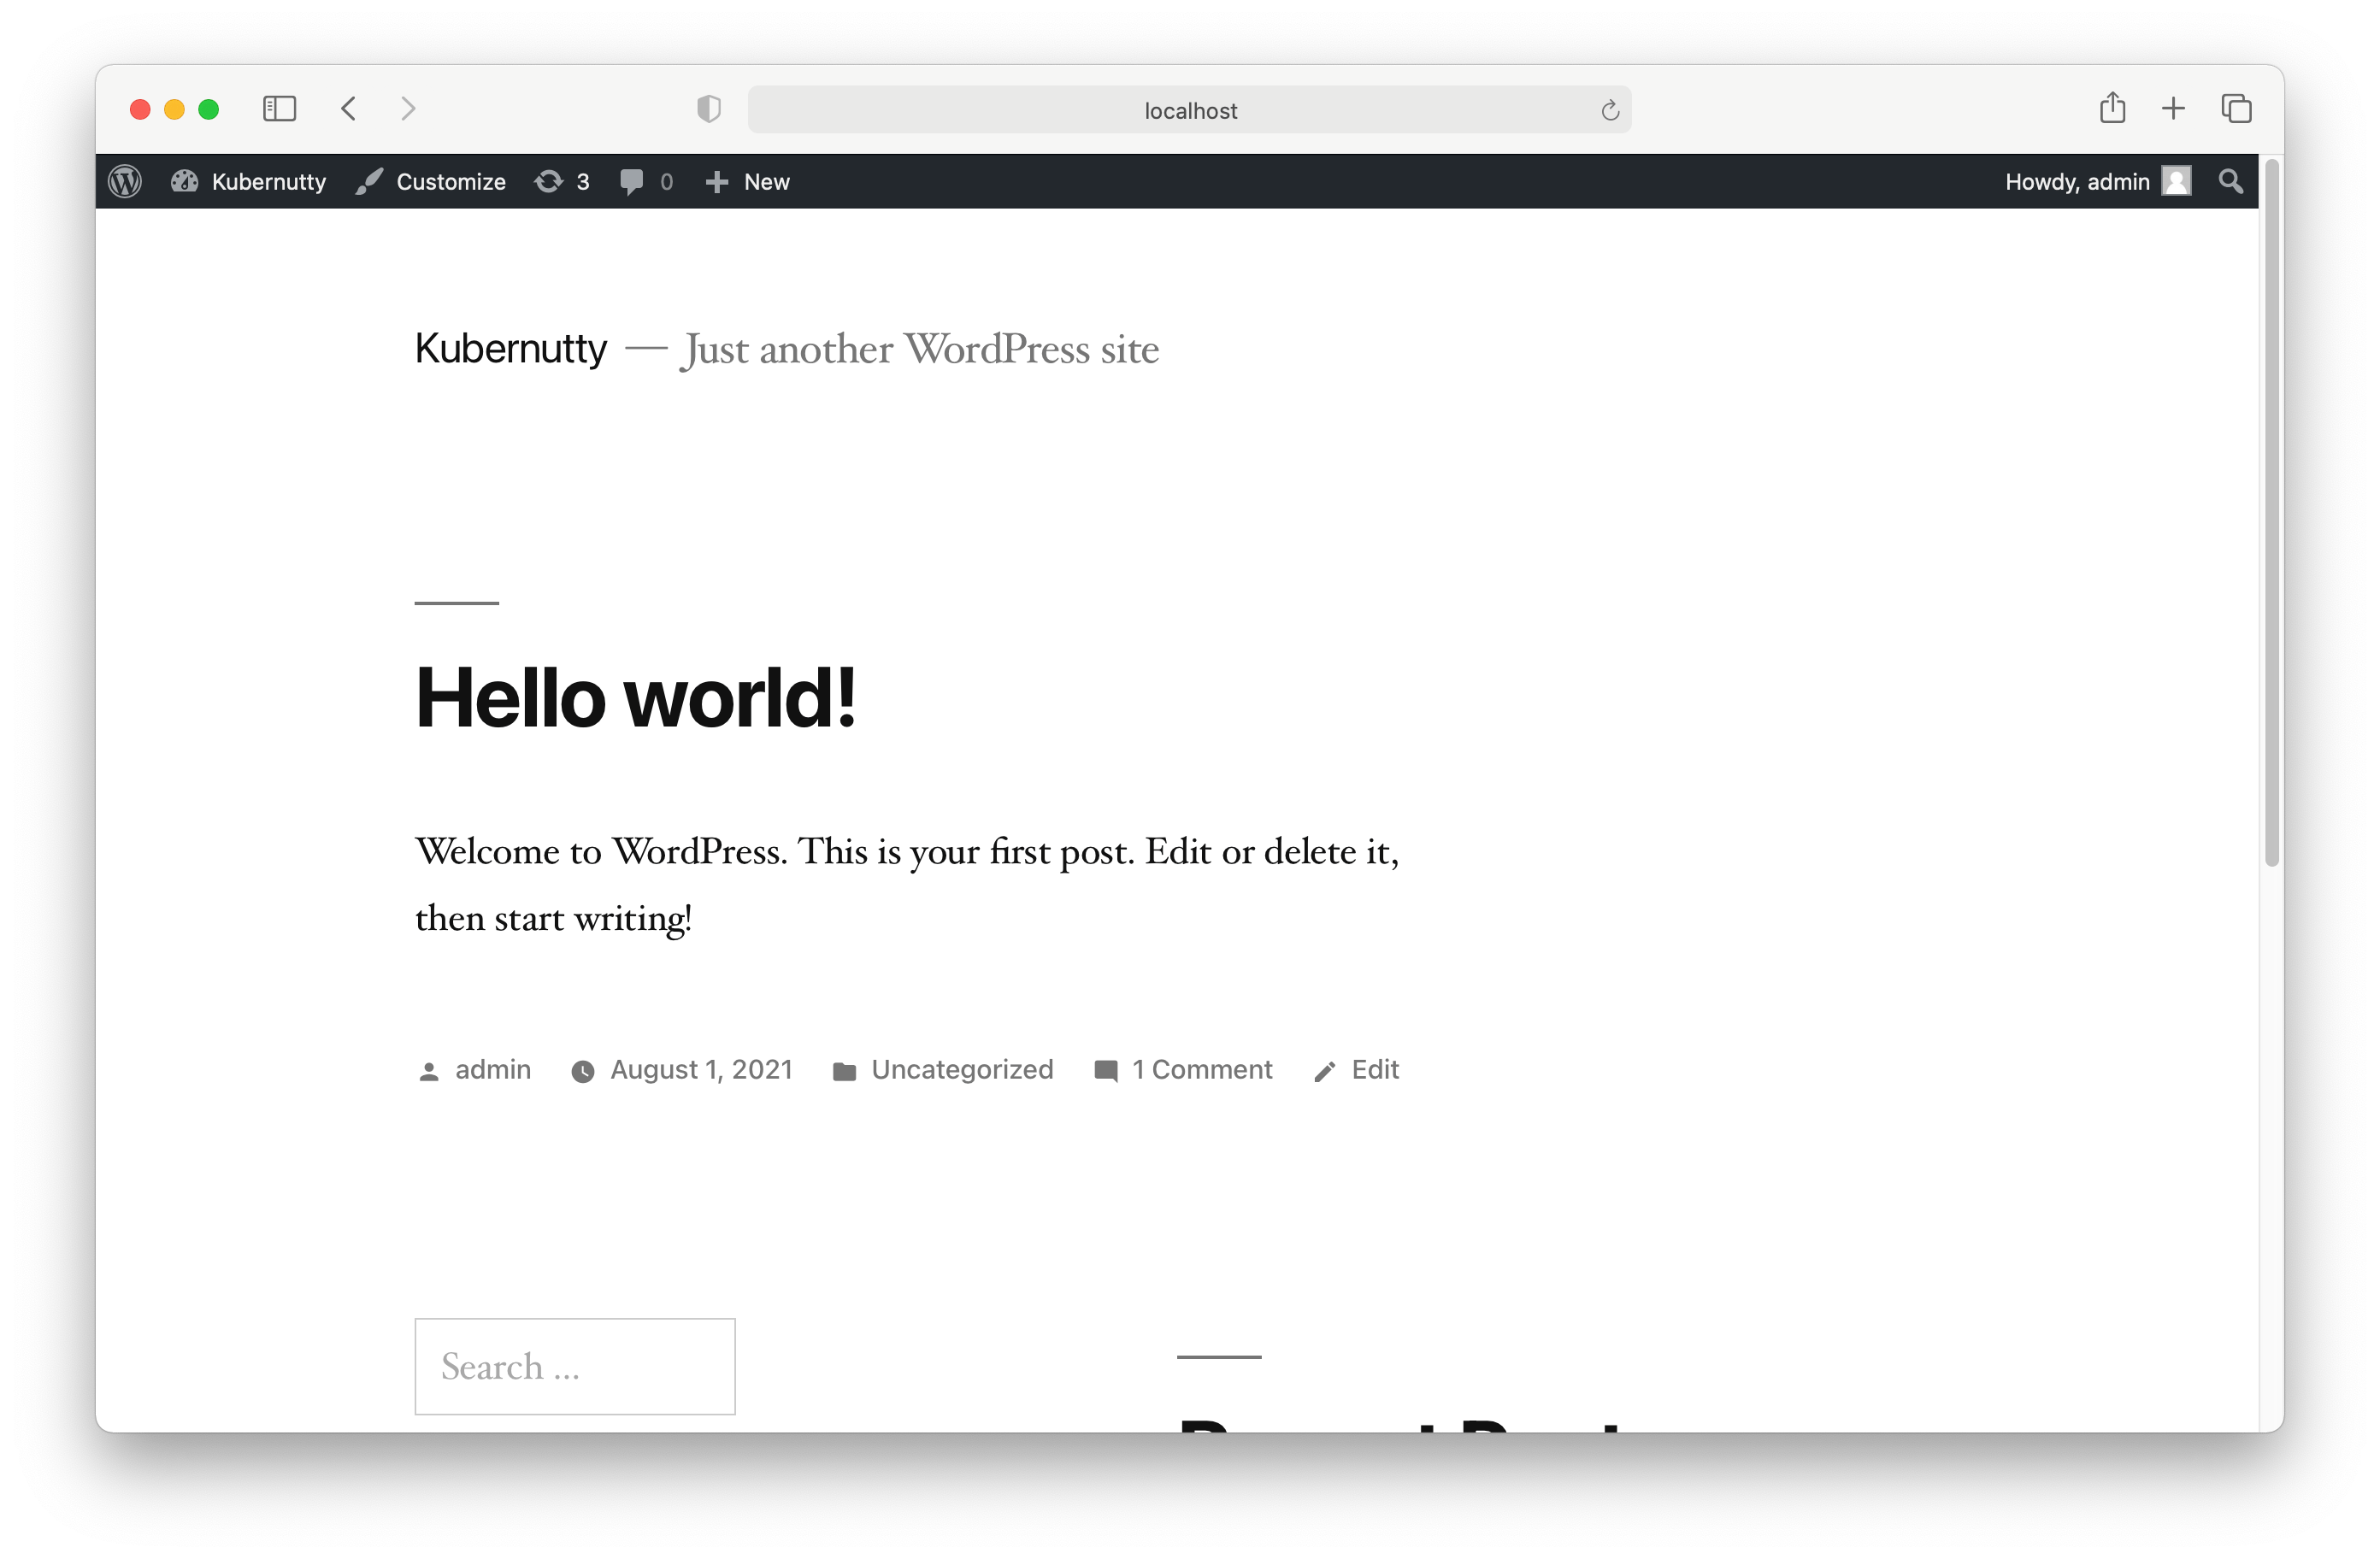
http://localhost/blog after we went through the installation process
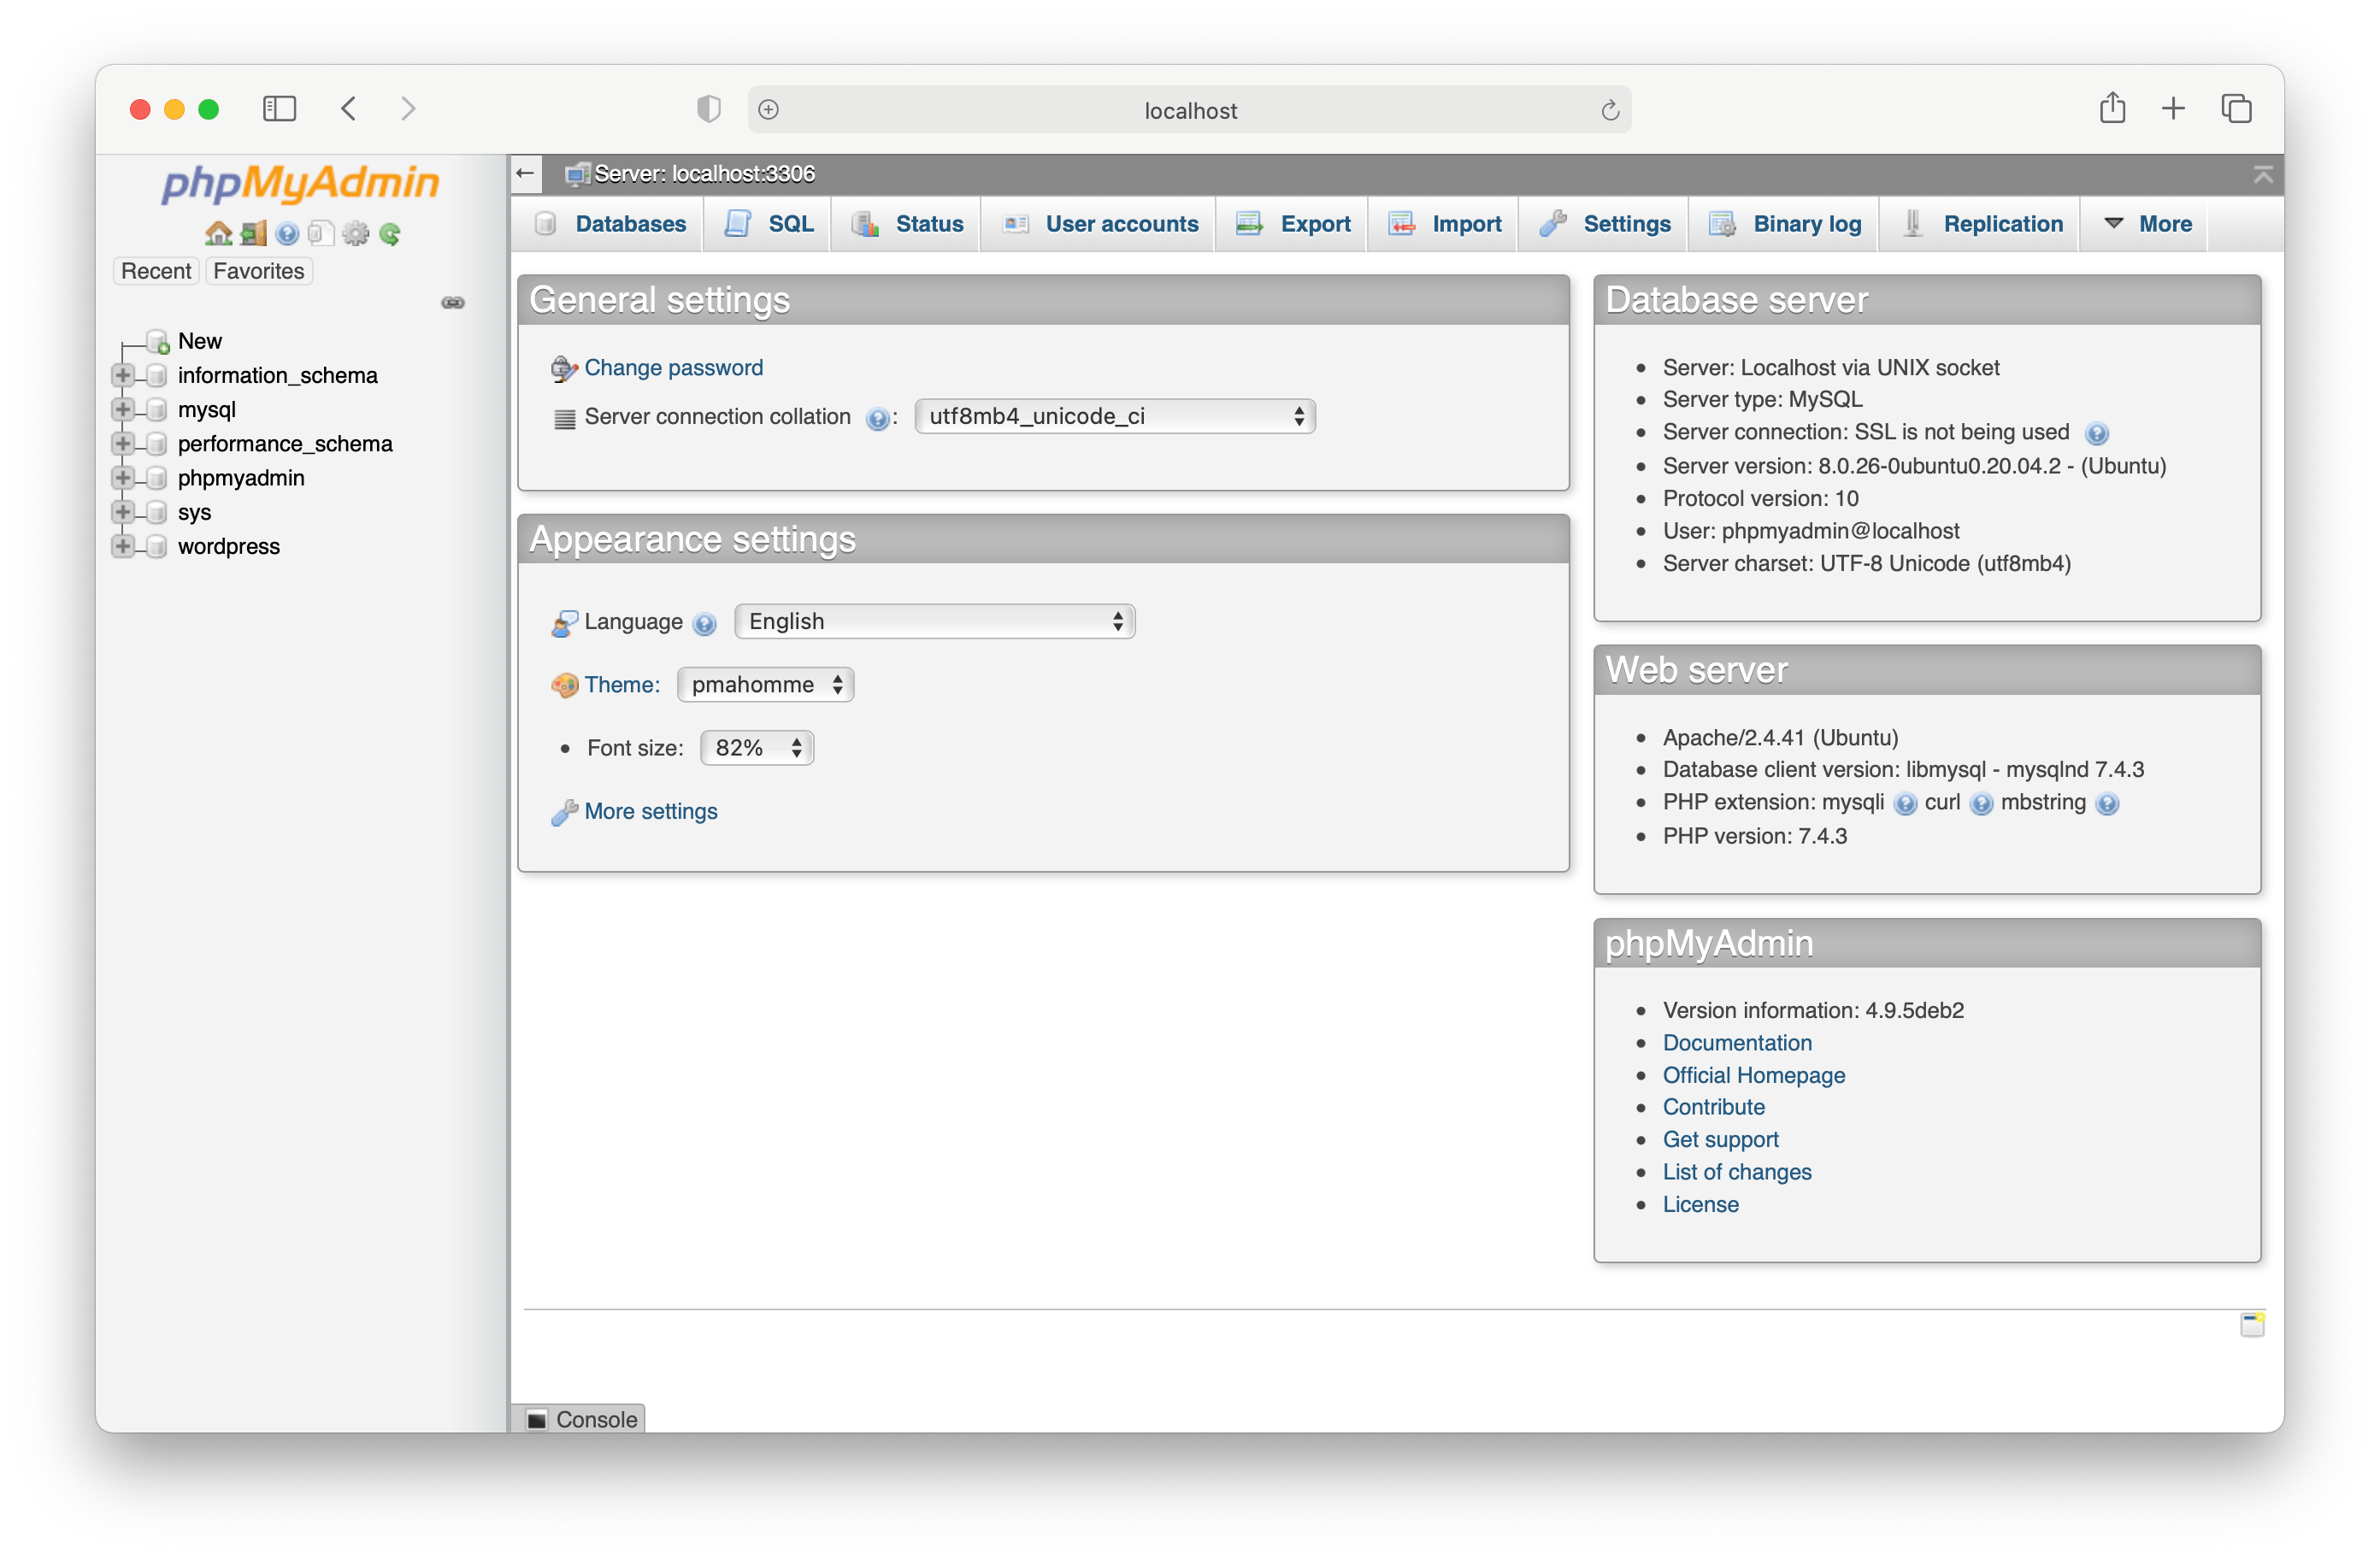
http://localhost/phpmyadmin has a new theme nowadays, but somehow still
looks as if it hasn’t been updated in 20 years.
Deploy our app to Kubernetes
Good, we’re almost done! Let’s deploy our app to Kubernetes so we can call it a
day.
First, create a kubernutty namespace for our project:
Then, we’ll provide definitions for two types of Kubernetes objects that will
help us deploy our WordPress container, a Deployment
and a Service:
The Deployment tells us that we want to run a single instance of the
chunfeilung/kubernutty image and give it access to 1 CPU and 2 gigabytes of memory.
The Service makes the deployed application accessible within the
Kubernetes cluster.
I saved the configuration in a file named kubernutty.yaml, which I’m going to
apply to our kubernutty namespace:
This creates a single pod that runs our container:
The first thing you probably want to do now, is view the result in a browser.
Unfortunately you can’t do that yet. Our configuration doesn’t tell Kubernetes
how to do that!
What we can do though, is use kubectl port-forward
to forward traffic on our host to the newly created pod:
We can now access our WordPress installation on localhost:8080:
http://localhost:8080/blog shows the WordPress installation page.
What’s next
Hooray, you have committed your first crimes against humanity!
While we could definitely add more cool things, like a domain name or an FTP
server, the best thing we can do for now is delete the kubernutty
namespace by executing